Tell a Story (<div>, CSS class)
Create your own story using HTML and CSS!
-
Visit replit.com/@dphhscodingclub/TellAStory to open a starter project. Click the "Fork" button to make your own copy.
-
Note: the web preview next to your code editor may not work right for this project. It looks like a blank, empty panel.
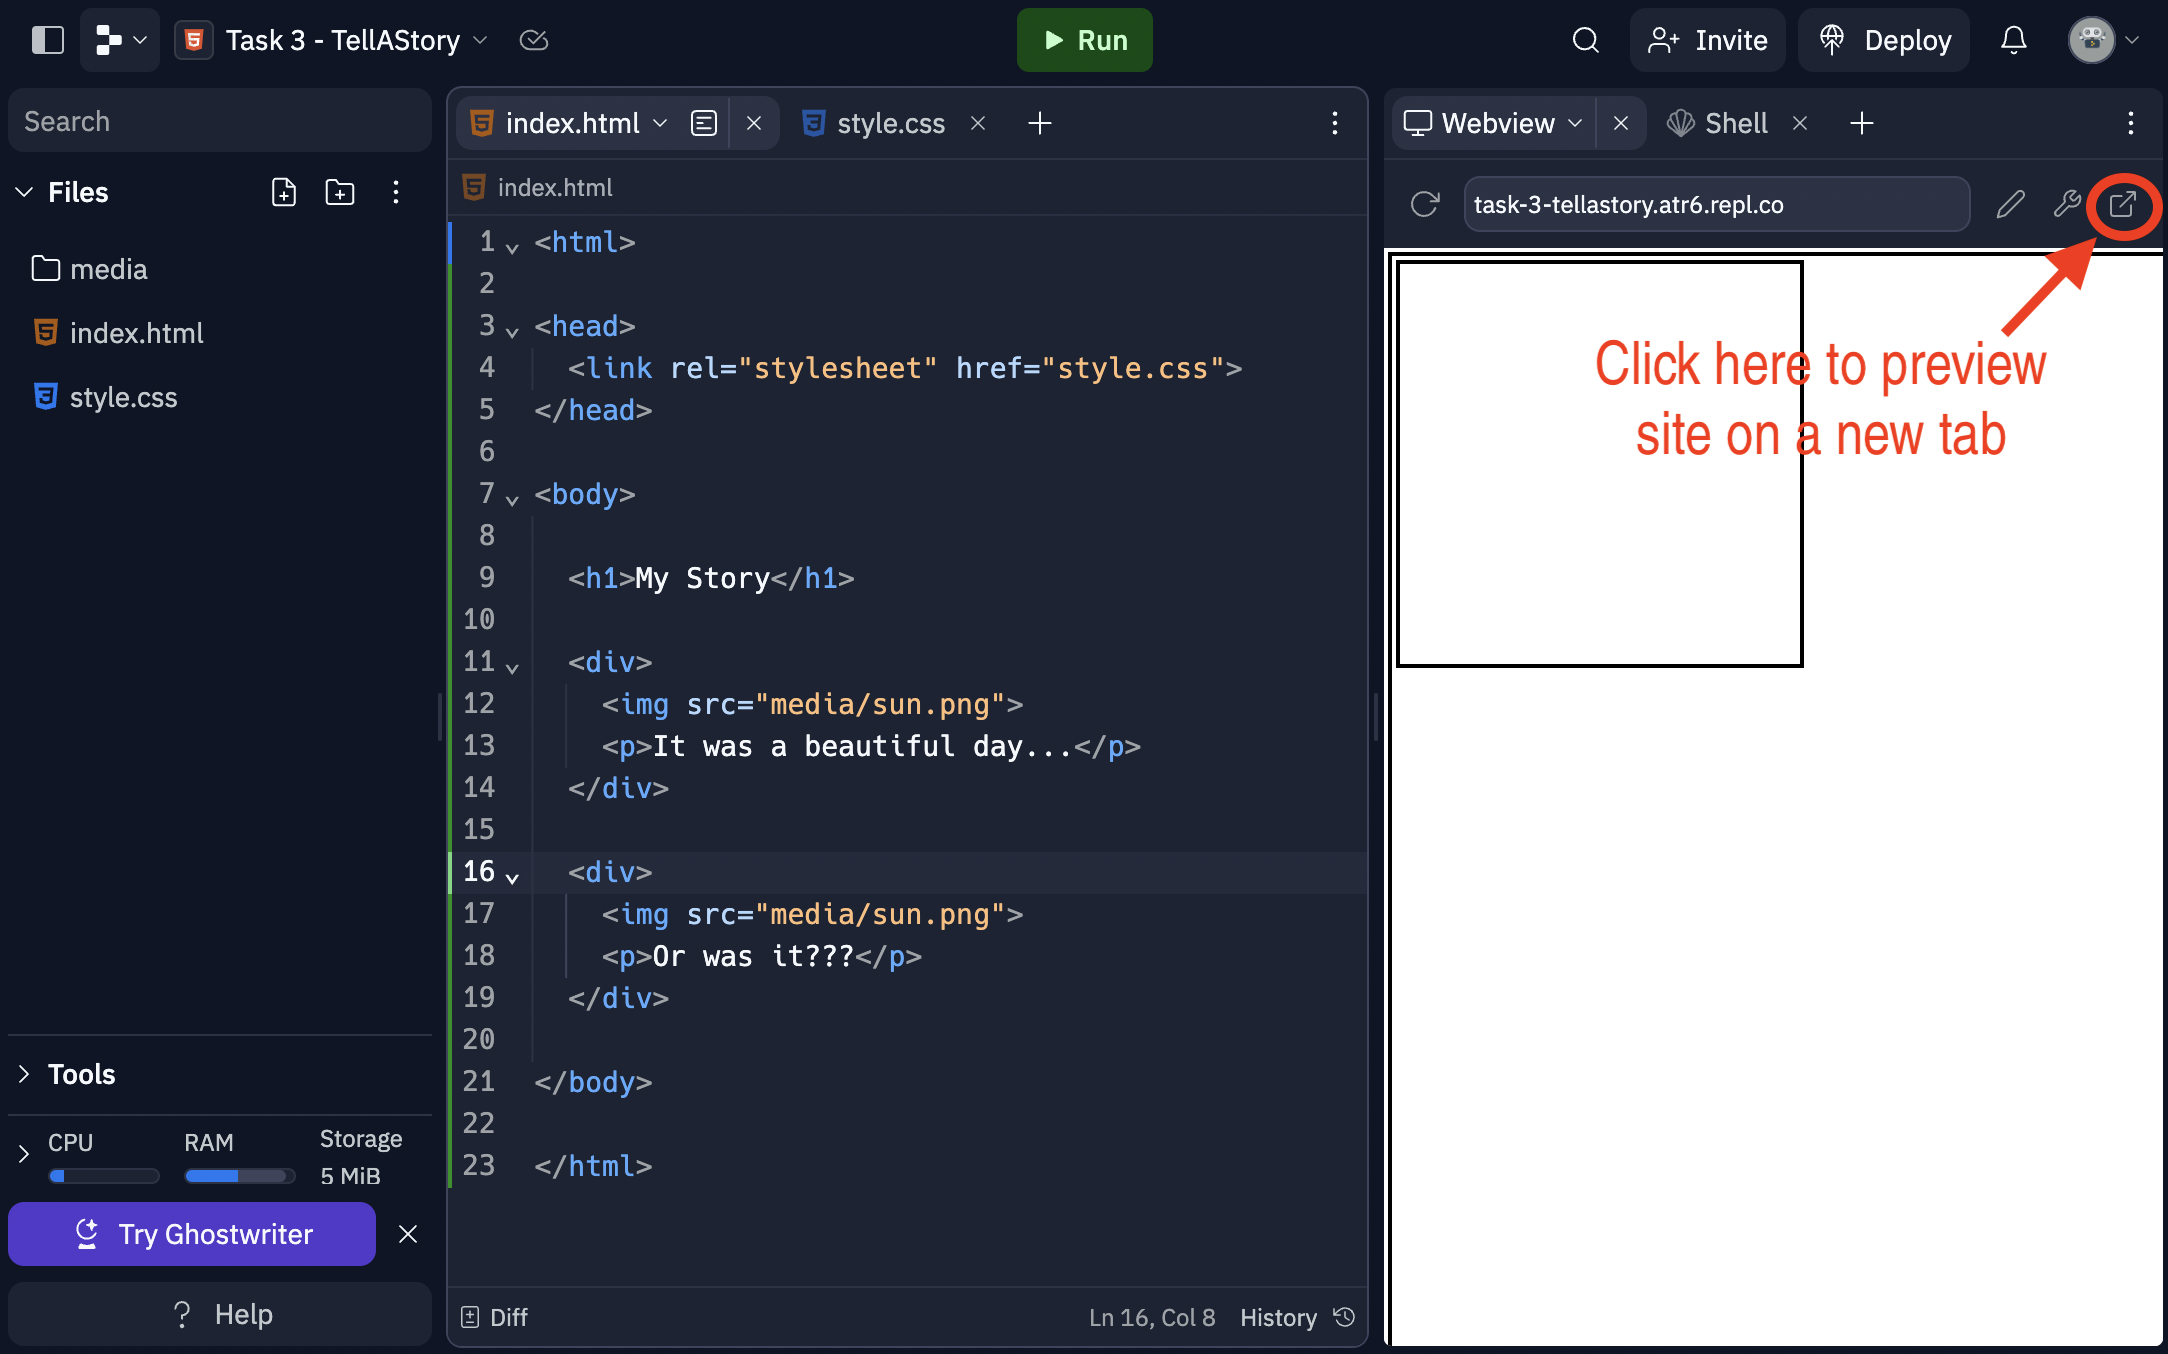
But, when you save your work and open a new browser tab by pressing the
 button on the top right of the page or by copying and pasting the link
https://tellastory.dphhscodingclub.repl.co/
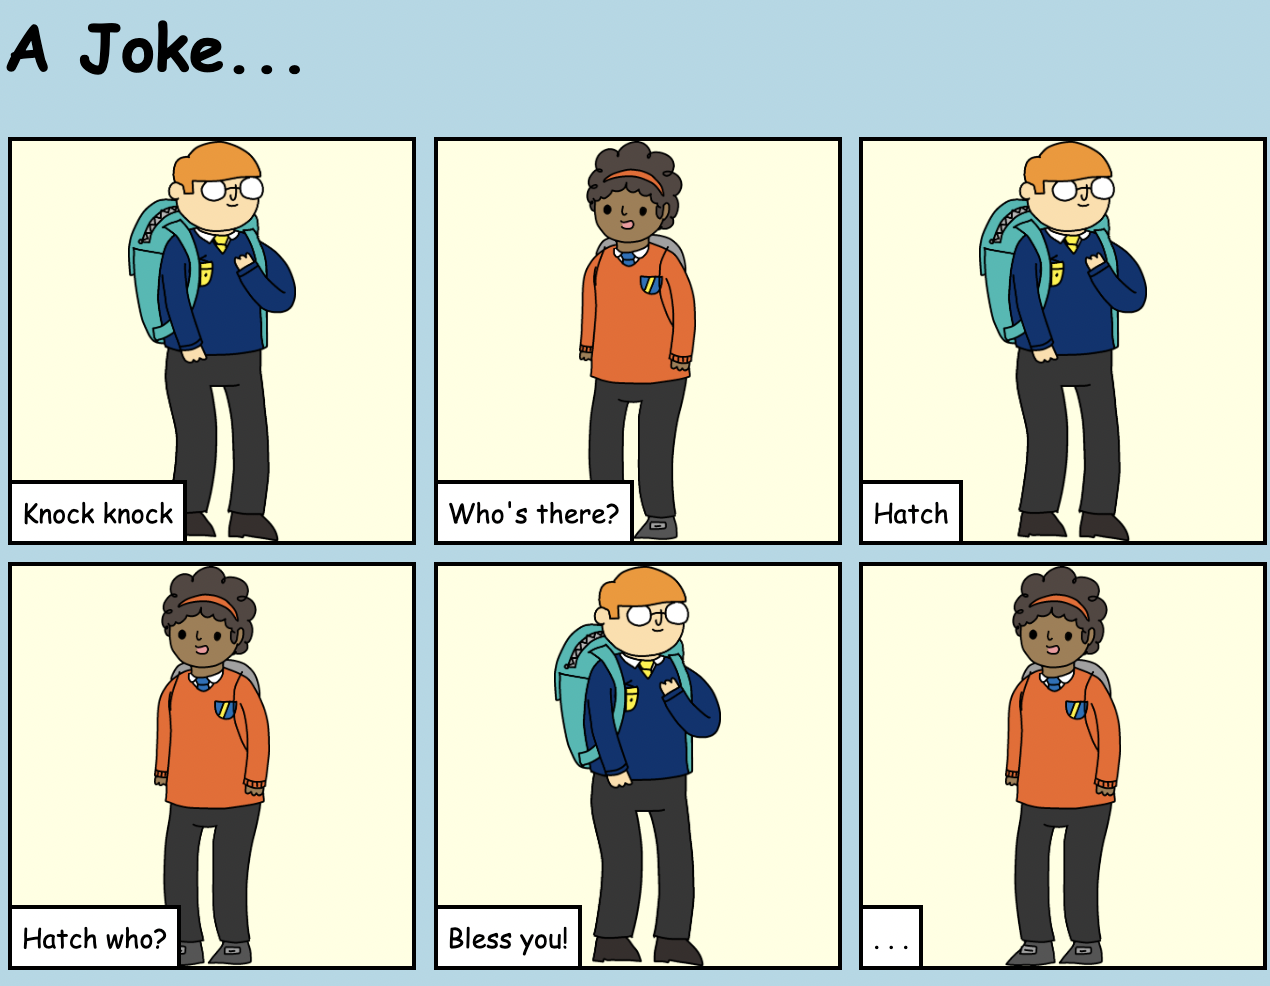
(with your username and your project name instead), you should see
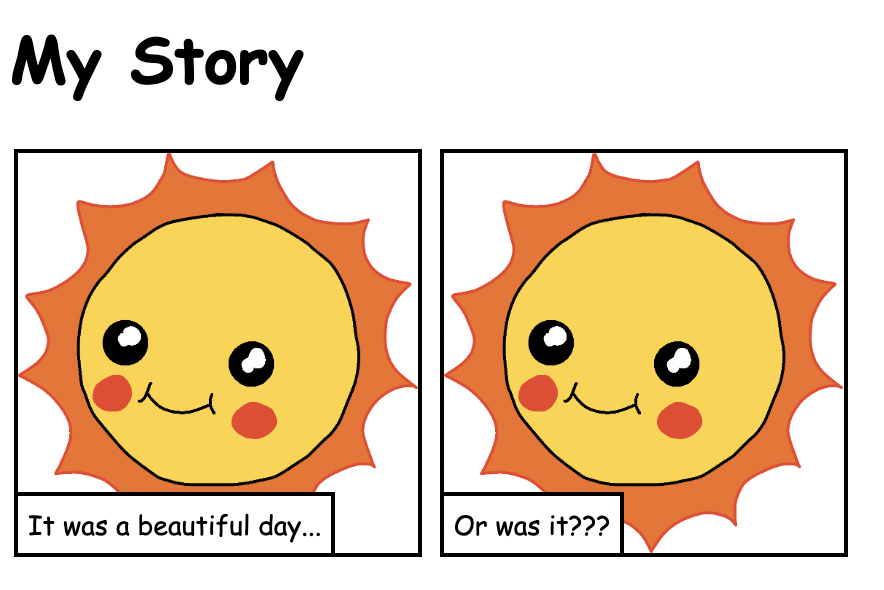
something like this:
button on the top right of the page or by copying and pasting the link
https://tellastory.dphhscodingclub.repl.co/
(with your username and your project name instead), you should see
something like this:
-
Each panel in the story is marked by the
<div>tag, which represents a division of your content. Notice how we are putting other HTML elements, such as an image tag and a paragraph tag, inside each<div>. We often use<div>tags to divide our webpage into multiple chunks, and the<div>tag acts as a container for each chunk.
Add more panels to your story by making some more div tag groups!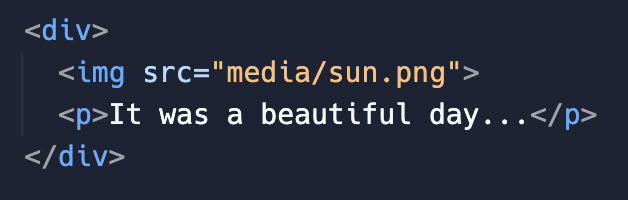
-
Change the images and text in your story. You can find lots of images in the
mediafolder. You can also upload your own images by clicking the triple-dots, then "Upload file".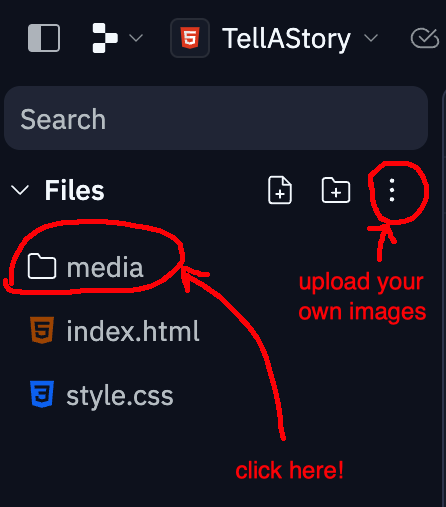
-
Your story looks great! However, it might not be arranged exactly how you want it to be. At the moment, notice how all of the story panels are just placed left-to-right on a single row until it runs out of space and then overflows to the next row. For example, try changing the width of your browser page (you might have to exit out of full-screen mode) and see how your story panels rearrange themselves.
In the next section, we'll show you a more advanced way of dividing your story using different classes of<div>tags. First, change the CSS file in the<head>ofindex.htmlfrom"style.css"to"better_style.css". Next, change all your<div>opening tags to say<div class="panel">.
It should look like this:
<html> <head> <link rel="stylesheet" href="better_style.css"> </head> <body> <h1>My Story</h1> <div class="panel"> <img src="..."> <p>...</p> </div> ... </body> </html> -
Let's look at
better_style.css. Notice how there are now two separate classes of<div>tags:rowandpanel
div.row {
  ...
}
div.panel {
  ...
}
In your HTML, you can specify whether you want your<div>to be arowor apanelby specifying<div class="row">or<div class="panel">.
Arrange your story by puttingpanelsinsiderowslike this:
<div class="row"> <div class="panel"> <img src="..."> <p>...</p> </div> <div class="panel"> <img src="..."> <p>...</p> </div> ... </div class="row"> <div class="row"> ... </div class="row"> -
Change the CSS in your story to change the colors, font, panel borders, and more! Play around with the settings.
To learn more about the different CSS properties, the Mozilla Developer Network ("mdn") has excellent information. Visit https://developer.mozilla.org/en-US/docs/Web/CSS. For example, say you want to changeborder-top: 2px solid blackto use dots instead, but "dots" doesn't work in place of solid. You can search for "border" to see what options are available.
-
Make the story as you like. Maybe you can think of a good joke, or a poem, or something else?
Credits: this lesson was adapted from Toni Scullion's lesson plan, in turn adapted from a Raspberry Pi Foundation project.